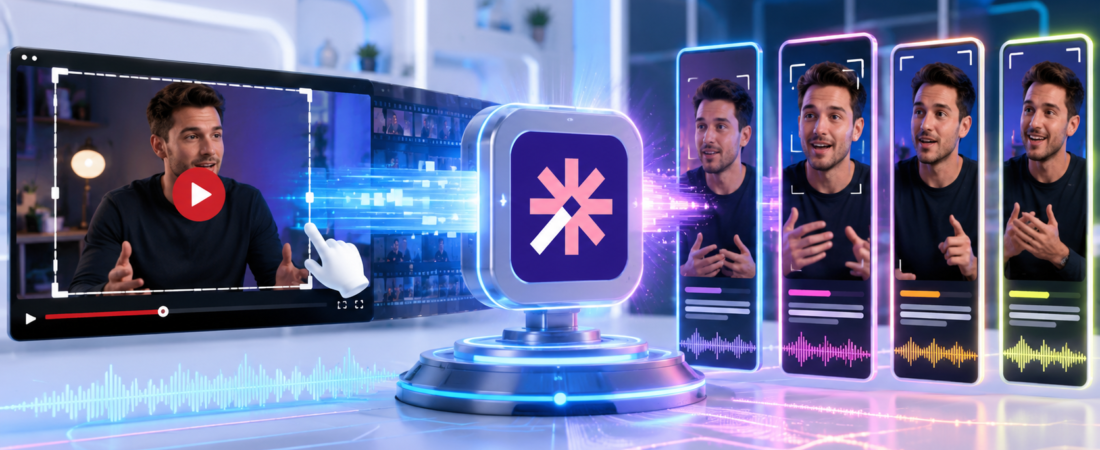
Vizard can turn a YouTube video into a page full of vertical clips in a few clicks. That is the easy part. The useful skill is knowing which clips deserve your attention, then fixing the context, captions and framing before you publish anything.
I use Vizard as an AI first-pass editor, not an automatic content strategist. It is good at finding relevant sections and giving me somewhere to edit them. It is less reliable at deciding exactly where a Short should begin and end. This tutorial shows the workflow I would actually use, including the checks that Vizard’s three-step marketing version leaves out.
Last checked: August 14, 2026. Vizard changes its interface and plan limits regularly, so some button labels may move even when the underlying workflow stays the same.
Quick workflow: paste a YouTube link or upload a file, generate AI clips, shortlist only the self-contained ideas, repair their boundaries in the transcript editor, check captions and vertical framing, preview the entire video, then export or schedule it. Do not publish every high-scoring suggestion simply because Vizard calls it “viral.”
What You Need Before Starting
You need a Vizard account and a source video you have the right to reuse. The source can be a local video file or a supported YouTube link. Vizard is best suited to material that already contains extractable ideas: podcasts, interviews, webinars, tutorials and clear talking-head videos.
The quality of the source matters more than most feature lists admit. A structured 20-minute explanation with clear topic changes is easier to clip than an hour-long conversation full of unfinished sentences and references to things said earlier.
Before uploading, I would check four things:
- Audio: speech should be clear enough to transcribe.
- Structure: the speaker should reach complete takeaways, not only chat around a topic.
- Visual composition: faces should be large enough to survive a vertical crop.
- Purpose: decide whether you want tips, opinions, stories, product moments or episode teasers.
Vizard’s Free plan currently provides 60 credits per month, and one credit represents one processed source minute. Free exports are limited to 720p, include a watermark and remain stored for three days. The full limits and paid-plan calculations are covered in the Vizard AI pricing guide.
My recommendation: use a representative 10–20 minute video for your first test. A polished highlight reel makes any clipper look good; a normal episode reveals whether the tool fits your real workflow.
Step 1: Upload a Video or Paste a YouTube Link
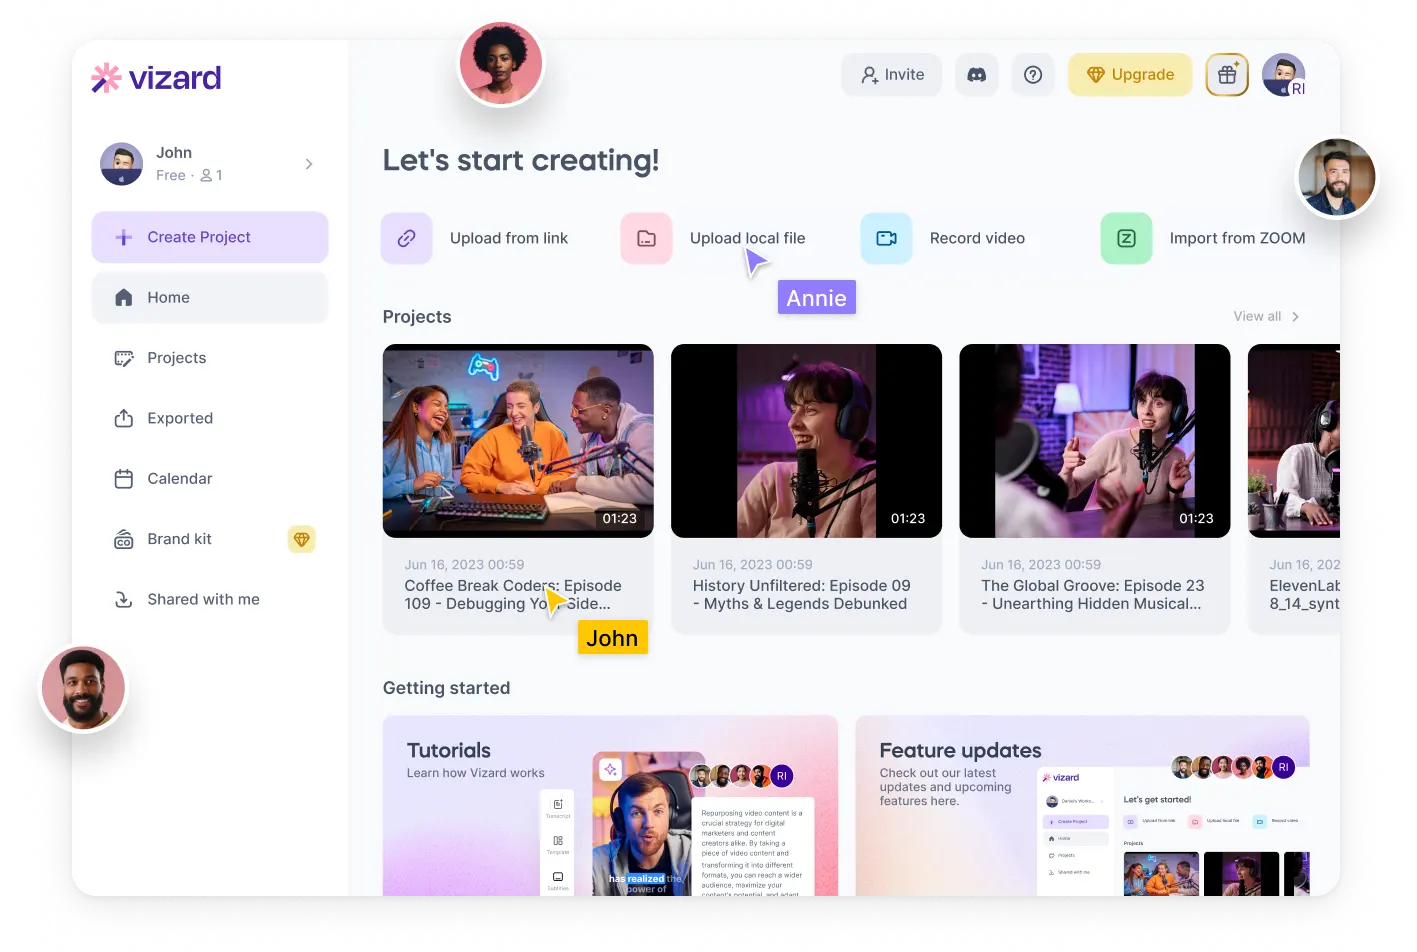
Open Vizard and start a new clipping project. You can drag in a local file or paste the URL of an existing YouTube video. Vizard’s current AI clip generator explicitly supports both routes.
Pasting a YouTube link is the fastest option when the source is already online. Uploading the original file is preferable when YouTube has compressed it heavily or when you need the best available source for reframing and export.
Once the video is accepted, Vizard transcribes it and prepares the source for AI clipping. Check that you selected the correct spoken language. Automatic detection is convenient, but choosing the language manually can reduce avoidable transcription errors when the video contains accents, names or specialist vocabulary.
Avoid unnecessary re-uploads. Credits are charged against processed source minutes. If a promising clip only needs a longer introduction or ending, repair it inside the existing project rather than creating a fresh project from the same footage.
Step 2: Choose Sensible Clip Settings
Vizard may show settings for clip type, aspect ratio, subtitles, layouts, B-roll, silence removal, highlighted words and other AI enhancements. The exact selection depends on the workflow and account.
For a first YouTube Shorts test, I would keep the setup restrained:
| Setting | Recommended starting point | Why |
|---|---|---|
| Aspect ratio | 9:16 vertical | Designed for Shorts, Reels and TikTok |
| Spoken language | Choose the actual language | Reduces avoidable transcript mistakes |
| Captions | On | Lets you judge style and accuracy in the first result |
| AI B-roll | Off for the first pass | Makes it easier to evaluate the underlying clip before decoration |
| Emojis | Minimal or off | Prevents the template from overpowering the speaker |
| Remove silence | Use cautiously | Aggressive cuts can make natural speech feel rushed |
| Brand template | Simple | Readable captions matter more than visual novelty |
It is tempting to enable every AI feature because they are available. I would rather judge selection quality first. B-roll, emojis and animated highlights can improve a good clip; they rarely rescue one that begins without context.
Step 3: Generate AI Clips
Click Get AI Clips and let Vizard analyse the source. It will transcribe the speech, identify possible highlights, create clip boundaries, generate captions and adapt the layout for short-form platforms.
Processing time varies with source length, file size, plan priority and current demand. I would not promise that every video will finish in a fixed number of minutes. Leave the project open, but do not mistake processing speed for total workflow speed; reviewing the results can take longer than generating them.
Some workspaces also provide prompt-led clipping through Vizard’s Spark model. Instead of asking for generic highlights, you can request a type of moment, such as:
- Find the strongest practical tip for a beginner.
- Find a self-contained opinion with a clear conclusion.
- Create a clip explaining the most common mistake.
- Find the part where the speaker compares two tools.
Vizard says a project can accept up to ten Spark prompts and that re-prompting within the same project does not require additional credits. Availability may vary by account, so treat this as an optional refinement rather than a required step.

Step 4: Choose Clips That Work on Their Own
This is the most important part of the workflow. Do not begin by asking which clip has the highest virality score. Ask whether a viewer who never watched the original video will understand it.
Keep reviewing when
- The first sentence creates context or curiosity
- The clip contains one main idea
- The speaker reaches a useful conclusion
- The pace works without the full episode
- The clip can be repaired with a small edit
Reject or rebuild when
- It opens with “as I said earlier”
- The subject is unclear without a previous question
- Two unrelated ideas compete for attention
- The final sentence is cut before the point lands
- The useful section is only a few seconds of a weak clip
In my comparisons, Vizard usually found sections that were relevant to the topic. The more common problem was structure. Some candidates depended on an earlier sentence; others stopped before the speaker completed the implication of the point.
That does not make the results useless. It means I treat them as editing suggestions. OpusClip was more consistent at producing self-contained first drafts, while Vizard gave me a more flexible place to repair weaker boundaries. The full evidence is in the OpusClip vs Vizard comparison.
A practical rule: if you cannot explain the clip’s point in one sentence after watching it once, do not spend ten minutes decorating it. Move to the next candidate.
Step 5: Fix the Beginning and Ending
Open a promising candidate in Vizard’s editor. The transcript-led workflow is the strongest reason to use Vizard: you can repair a clip by working with the spoken text rather than rebuilding it on a complicated timeline.
Fix a context-dependent opening
Read the first line without imagining the original conversation. If it begins with a pronoun, continuation or reaction, extend the clip backwards until the viewer knows what the speaker is discussing.
Do not automatically add the entire previous question. Sometimes one sentence of setup is enough. The goal is context, not maximum length.
Fix a premature ending
Play the final five seconds. If the speaker sounds as if another clause is coming, extend the boundary. A Short should finish after the takeaway lands, not when the AI reaches an arbitrary duration.
Create a manual clip when the AI misses the moment
If you know the useful passage but Vizard did not select it, open the original video’s editor and select the relevant transcript text to create a short clip manually. This is usually faster than repeatedly regenerating generic highlights.

Step 6: Correct the Captions
Vizard can generate strong captions from clear English speech, but I would never publish without reading them. Proper names, brands, acronyms, technical terms and punctuation are the usual failure points.
Check captions in this order:
- Accuracy: correct misheard words and names.
- Meaning: make sure punctuation does not change the sentence.
- Line breaks: avoid splitting a phrase in an unnatural place.
- Emphasis: highlight words that carry the idea, not random filler.
- Safe placement: keep text away from platform buttons and the bottom caption area.
- Consistency: use the same font, colour and animation across a series.
Animated captions should support the speaker. If every word jumps, changes colour and competes with an emoji, the viewer has to process the template instead of the message. A simpler style often looks more intentional.
Step 7: Check the Vertical Framing
Switch the project to 9:16 and preview the entire clip. Vizard can identify speakers and keep faces inside a vertical layout, but technically visible is not the same as well composed.
Look for:
- A face sitting too close to the edge
- Large areas of empty space
- A crop that removes useful gestures or a product
- A late switch when a second speaker begins
- Captions covering the speaker’s mouth
- B-roll obscuring something important in the original frame
Single-speaker talking-head videos are normally easier. Multi-person podcasts need more attention because the active speaker and layout can change mid-clip. If the automatic crop looks awkward, adjust the layout or focal position manually rather than assuming viewers will ignore it.
Step 8: Export, Publish or Schedule
Before exporting, play the clip from beginning to end with sound. Do not only scrub the transcript. A one-second framing jump, caption flash or harsh silence cut can be obvious during playback and invisible while reading.
Then choose one of three routes:
- Download: export the file and upload it manually to each platform.
- Direct publish: connect a supported social account and publish from Vizard.
- Schedule: choose a future date and manage planned posts in Vizard’s calendar where available.
Vizard’s auto-scheduling workflow can set a minimum score, daily post limit, publishing days, start date and time window. The official documentation currently lists support for YouTube, TikTok, Instagram, Facebook Pages, X and LinkedIn. Plan availability can change, so check what your workspace displays before building your entire calendar around it.
Free users should remember that exports carry a Vizard watermark and are limited to 720p. Download anything you want to keep before the three-day project-storage window expires.
My Recommended Vizard Workflow
If I were turning one weekly YouTube video into Shorts, I would use this repeatable process:
- Upload the finished long-form video once.
- Generate normal AI clips without excessive effects.
- Discard candidates that lack a complete idea.
- Choose the best three to five, not every result.
- Repair their openings and endings before styling.
- Correct captions and names.
- Check 9:16 framing from start to finish.
- Apply one consistent caption template.
- Export clean files or schedule them across the week.
- Record which topic and hook performs best, then use that information in the next long-form video.
This is slower than the “one click” promise, but much faster than manually searching an entire recording. More importantly, it keeps the editorial decision with you.
Common Vizard Mistakes
Publishing every generated clip
More outputs do not automatically create a better content strategy. Repetitive or context-dependent clips can make the channel feel automated. Publish fewer, stronger ideas.
Trusting the virality score
A score can help order a long candidate list. It cannot know whether the clip supports your brand, repeats last week’s post or depends on context outside the segment.
Styling before fixing structure
Do not spend time choosing caption colours for a clip with a weak opening. Repair the idea first, then the presentation.
Ignoring the final preview
Transcript edits, silence removal and reframing can create problems at different moments. Watch the exported composition, not just the text.
Using the wrong tool for full-length editing
Vizard is designed around repurposing and lightweight browser editing. If you need multitrack audio repair or detailed control over an entire podcast episode, a full editor is more appropriate. The OpusClip vs Descript guide explains the difference between automatic clipping and full video editing.

Is Vizard the Best Tool for This Workflow?
Vizard is a good choice when you want AI to produce a shortlist and still expect to edit the results. Its transcript editor, manual boundary controls, captions and layout tools make it easier to fix a nearly good clip without leaving the browser.
OpusClip is my preference when automatic selection quality matters most. In my comparisons, it more consistently produced clips with a usable hook, complete idea and cleaner ending. Vizard gives you more reason to stay when the first draft needs work.
If you are deciding between them for the first time, read the beginner AI clip generator comparison. For a deeper assessment of Vizard’s selection, captions and reframing, see the Vizard AI review.
Final verdict: Vizard makes the mechanical part of creating Shorts easy. Its real value is not that every AI suggestion is ready to publish; it is that relevant candidates, transcript editing, captions and reframing live in one workflow. Use the AI to reduce searching, then use your own judgment to decide what deserves an audience.
Frequently Asked Questions
How does Vizard AI work?
Vizard transcribes a long video, identifies possible highlights, turns them into short clips, adds captions and adapts the layout for platforms such as YouTube Shorts, TikTok and Instagram Reels.
Can I paste a YouTube link into Vizard?
Yes. Vizard currently lets you paste a supported YouTube URL or upload a local video file.
How do I create YouTube Shorts with Vizard?
Upload or link the source, select a vertical 9:16 workflow, generate AI clips, review the candidates, fix their boundaries and captions, preview the framing, then download or publish the finished Short.
Can I edit Vizard-generated clips?
Yes. Vizard provides transcript and timeline editing, caption controls, layouts, aspect ratios and visual customisation. You can also create a manual clip by selecting part of the original transcript.
Does Vizard automatically add captions?
Yes. Vizard transcribes uploaded speech and generates captions. You should still check names, technical vocabulary, punctuation and line breaks before publishing.
Can Vizard publish directly to YouTube?
Vizard supports direct publishing to YouTube and other social platforms. Scheduling features and account limits may depend on the current plan and workspace.
Does Vizard AI add a watermark?
Videos exported on the Free plan contain a Vizard watermark. Creator and Business include watermark removal.
How many credits does a Vizard project use?
Vizard currently charges one credit for every minute of source video processed. A 20-minute source uses approximately 20 credits, regardless of how many suggested clips you keep.
Is Vizard suitable for beginners?
Yes. Uploading and generating clips are straightforward. The main learning curve is reviewing AI choices and understanding how to repair clip boundaries, captions and framing.
Workflow details checked against Vizard’s official usage guide, AI clip generator guide, manual clipping instructions, auto-scheduling documentation and Spark documentation. Product interfaces and limits can change.